How to Remove Lens Filter Canon? Complete Guide
Stuck lens filters can really put a damper on your photography adventures. You’ve tried everything – twisting, prying, maybe even muttering a few choice words under your breath. Just when you’re about to grab the nearest tool and attempt to force it off, stop right there! Taking drastic measures will only lead to disappointment and potentially costly repairs.
Take a deep breath, grab a refreshing drink, and relax. I’m here to share some tried-and-true methods for removing stubborn filters safely and effectively. From everyday household items to specialized tools, you’ll have plenty of options to free your lens. Stay with me, and that stuck filter won’t know what hit it!
Ways to Remove Stuck Lens Filter from Your Canon
There are several methods to tackle a stubborn lens filter, each with its own level of effectiveness. Let’s learn about these methods, starting with the easiest ones:
1. By Using Lens Cloth
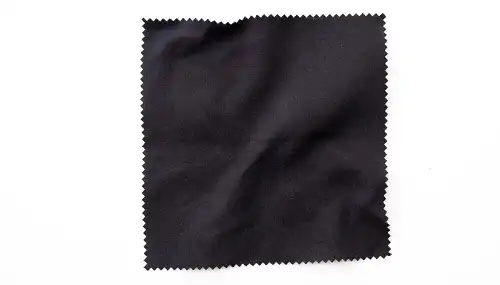
A simple lens cloth can work wonders when dealing with a stuck filter. Here’s how you can use it:
Grab a clean, lint-free lens cloth and wrap it around the filter. Make sure the cloth is taut and has a good grip on the filter. You may need to wrap it around a few times to ensure a secure hold. Once the cloth is in place, gently twist the filter counterclockwise while applying a little pressure. The added friction from the cloth can often break the stuck filter’s seal, allowing you to remove it easily.
It’s important to apply only gentle pressure and avoid excessive force, as this could damage the filter or the lens itself. If the filter doesn’t budge after a few attempts, move on to another method to prevent any accidental damage.
2. By Using Textured Surface
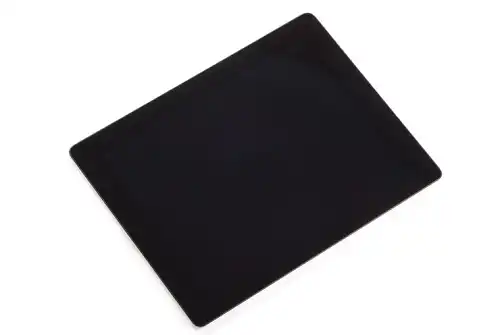
If the lens cloth method doesn’t work, you can try using a textured surface to leverage the power of grip. Here’s what you need to do:
Find a textured surface like a rubber mat or a non-slip pad. These surfaces provide additional friction and grip, which can be helpful in removing a stubborn filter. Place the lens face-down on the textured surface, making sure the filter is in contact with the surface. Then, gently twist the filter counterclockwise while applying a little pressure.
The additional friction provided by the textured surface can help you get a better grip on the filter, making it easier to unscrew. Be careful not to apply too much force, as this could cause the lens to slip and potentially scratch the front element or the filter itself.
3. By Using Rubber Band

Rubber bands can be your savior when dealing with a stubborn lens filter. Here’s how you can use them:
Grab a thick rubber band and wrap it around the filter, making sure it’s tight and secure. You may need to stretch the rubber band a bit to ensure a snug fit. Once the rubber band is in place, gently twist the filter counterclockwise while applying a little pressure.
The added grip from the rubber band can give you the extra torque needed to twist the filter off. However, be careful not to apply too much force, or you might end up damaging the filter or the lens itself. If the filter still won’t budge, try using multiple rubber bands for extra grip.
4. By Using Rubber Gloves

If you have a pair of rubber gloves lying around, you can use them to enhance your grip and potentially remove the stuck filter. Here’s how:
Put on the rubber gloves and try unscrewing the filter with your bare hands. The added grip from the rubber gloves can often provide the necessary traction to break the filter’s seal and remove it without any hassle.
Make sure to twist the filter counterclockwise while applying gentle pressure. Avoid using excessive force, as this could damage the filter or lens. If the filter still won’t budge, you may need to try another method.
5. By Using a Filter Wrench
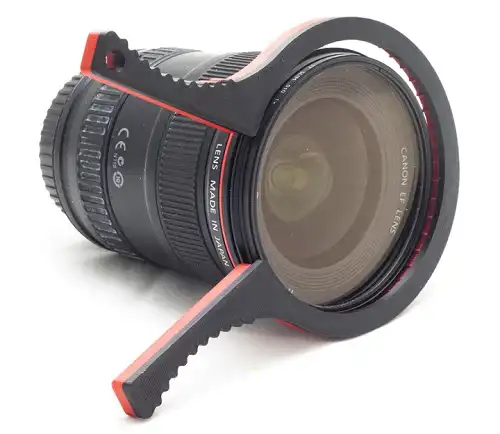
If none of the above methods work, it might be time to invest in a filter wrench. These specialized tools are designed specifically for removing stuck filters, and they can be incredibly helpful in stubborn situations.
A filter wrench features a grippy surface and a unique shape that allows you to get a secure hold on the filter, making it much easier to twist it off without damaging anything. Simply place the wrench over the filter, ensuring a snug fit, and gently twist counterclockwise.
The wrench’s design provides excellent grip and leverage, allowing you to apply just the right amount of force to break the filter’s seal without risking any damage to your lens or filter.
Should You Follow the Freezing Method?
While the freezing method may seem like a tempting solution to loosen a stuck lens filter, I would strongly advise against it. This approach involves exposing your lens to extreme temperatures, which can potentially cause condensation, warping, or other issues that could permanently damage your valuable camera equipment.
Instead of risking your gear’s well-being, I recommend sticking to the safer and more reliable methods we’ve discussed earlier. They may require a bit more elbow grease, but at least you can rest assured that your lens and filter will remain unharmed in the process.
End Notes
There you have it, folks – five tried-and-true methods for removing a stuck lens filter from your Canon camera. I hope these techniques save you from the frustration and potential damage that can come with using brute force or improper methods.
Remember, patience and gentle force are key when dealing with stuck filters. If you’ve tried all these methods and still can’t get the filter off, it might be time to seek professional help from a camera repair shop.
Before I sign off, let me leave you with a little advice: always be gentle with your camera gear, and never force anything that doesn’t budge. With a little care and the right techniques, you can keep your camera in top shape for years to come.