How to Upload Canon Photos to Computer Using USB | A Detailed Guide
Whether to preserve family memories or do a bit of post-production edits, we all need our Canon photos transferred to our computers. While wireless options and card readers are quite popular among photographers, a USB connection remains a dependable, fast, and straightforward method.
In this article, we will provide you with step-by-step instructions, tailored solutions for specific models like the Canon 1200D, and answers to common questions to make the process as smooth as possible.
How Do I Connect My Canon Camera to My Device?
Before transferring your photos, you need to establish a connection between your camera and computer. Knowing what hardware and software are required ensures a hassle-free experience.
Does Canon Camera Have USB?
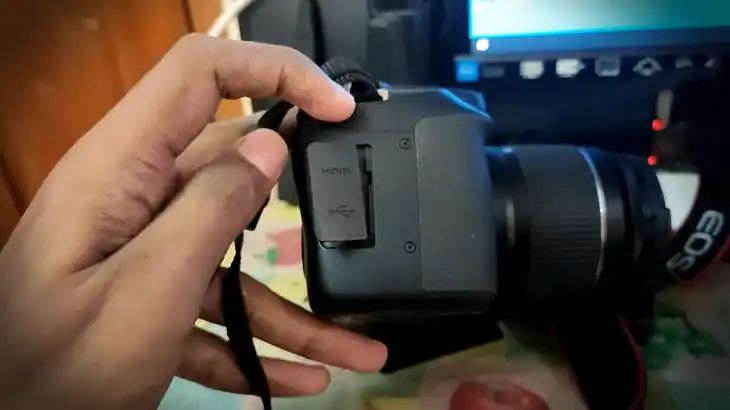
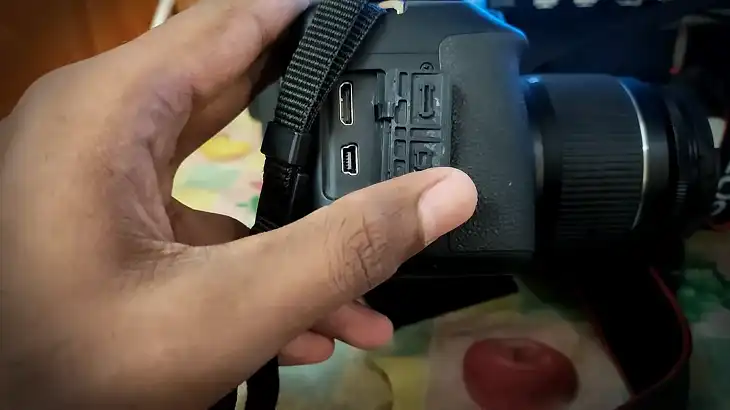
Yes, almost every Canon camera is equipped with a USB port. Depending on your model, you’ll find one of three common types:
- Micro-USB: Common in entry-level models like the Canon EOS 1200D.
- USB-C: Standard for newer models like the EOS R series.
- Mini-USB: Found in older Canon DSLRs and compact cameras.
The USB port is usually located on the side of the camera, behind a small plastic or rubber cover. Once you locate it, ensure you have the correct cable type. If your cable is lost or damaged, a compatible replacement can easily be purchased based on your camera model.
What App Do I Need to Connect My Canon Camera to My Computer?
Although you don’t necessarily need software to transfer photos via USB, Canon provides an optional app called EOS Utility that makes the process more convenient. EOS Utility is available for both Windows and macOS and can be downloaded for free from Canon’s website.
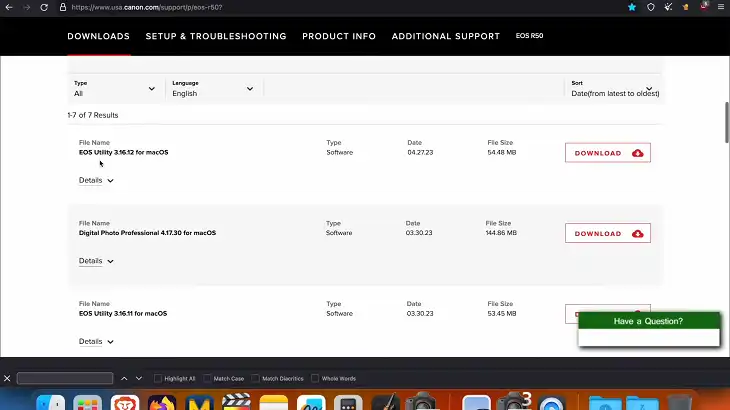
This app allows you to:
- Automatically import photos to your computer.
- Organize images into specific folders during transfer.
- Use advanced features like remote shooting and live view tethering.
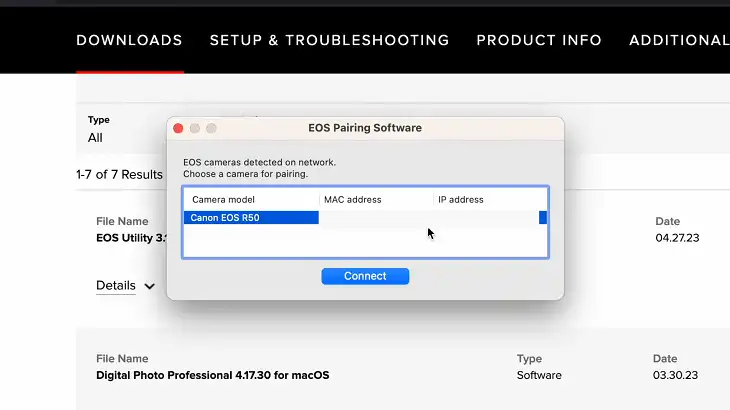
If you prefer not to use additional software, your computer’s file manager (File Explorer for Windows or Finder for Mac) can also handle the transfer manually.
How to Transfer Photos From Canon Camera to Computer With USB
To transfer photos using a USB connection, follow these steps:
Step 1: Prepare Your Equipment
Ensure you have a fully charged camera battery, the appropriate USB cable for your camera model, and a computer with a working USB port. If your laptop has USB-C ports only, you may need an adapter to connect your camera.
Step 2: Connect Your Camera to the Computer
Start by turning off your camera to avoid any potential issues during the connection. Locate the USB port on your camera, plug in the cable, and then connect the other end to your computer. Once both ends are secure, power on your camera.
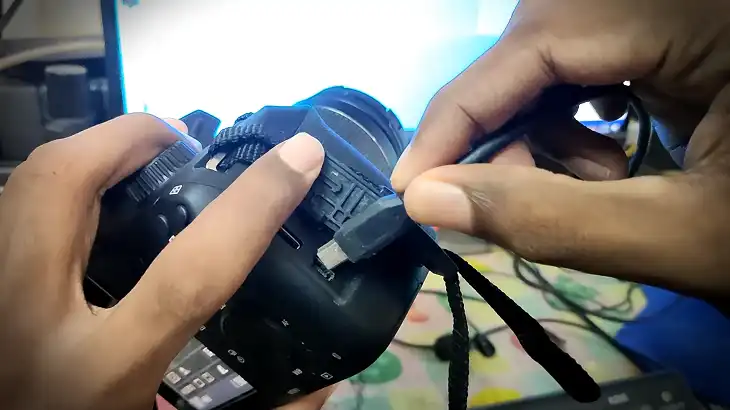
Your computer should recognize the camera as a connected device. On the camera screen, you may see a message indicating it is in “PC” or “USB” mode.
Step 3: Access the Camera’s Storage
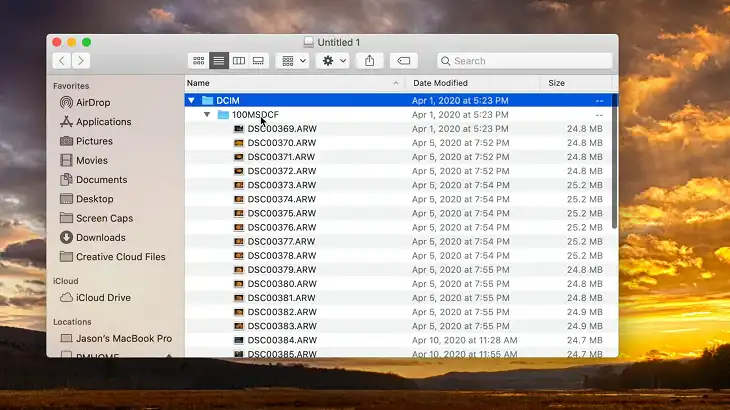
On Windows, open File Explorer and look for your camera listed under “This PC” or “Devices and Drives.” On Mac, open Finder, where the camera will appear under “Locations.”
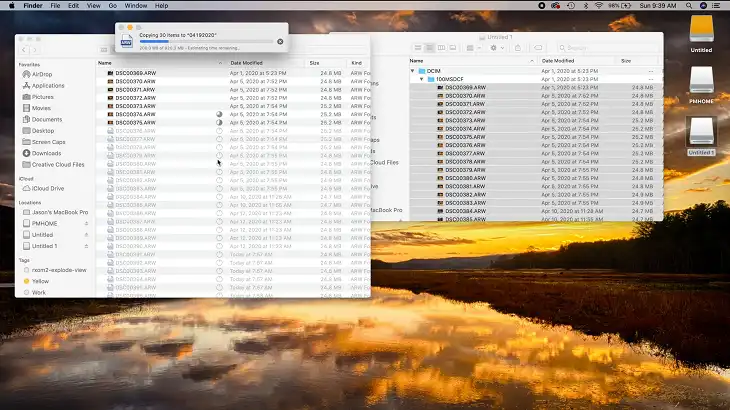
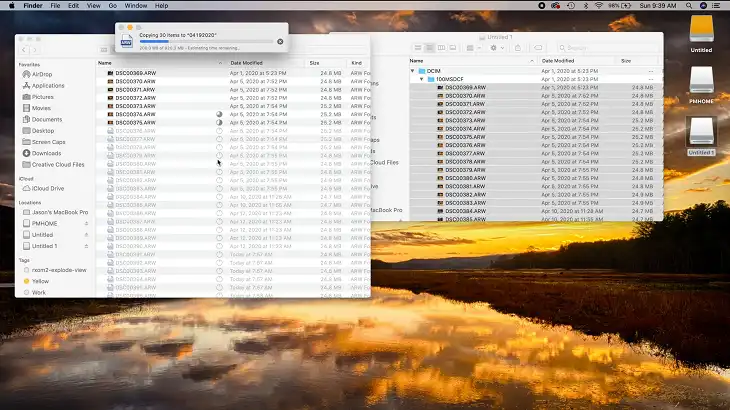
Navigate to the camera’s storage, typically found in a folder labeled DCIM. This folder contains all the photos stored on your camera.
Step 4: Transfer Photos
Browse through the DCIM folder to find the images you want to transfer. Select the files or folders, then copy and paste them into a folder on your computer. This can be as simple as dragging the files from the camera’s folder and dropping them into your desired location.
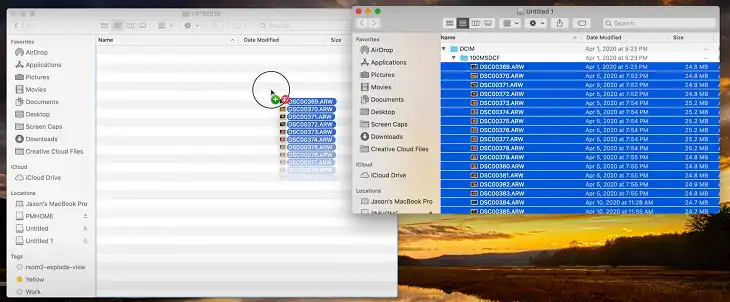
For large photo collections, consider organizing your files by date or event to make future browsing easier.
How Do I Transfer Photos From My Canon 1200D to My Computer?
The Canon 1200D, a beginner-friendly DSLR, uses a Micro-USB cable for photo transfers. Here’s a more tailored process for this model:
Step 1: Check Camera Settings
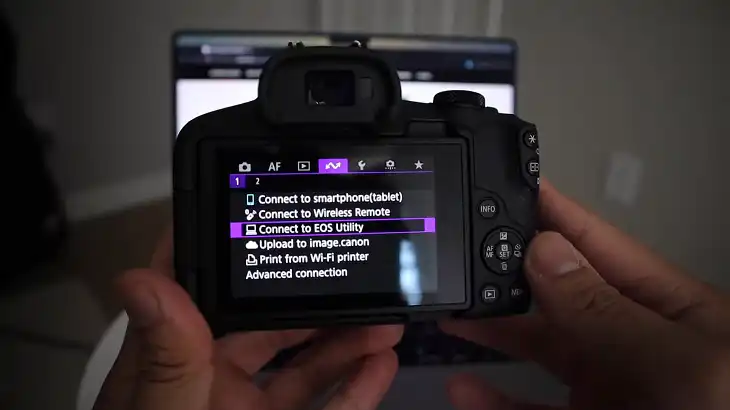
Power on your 1200D and navigate to the settings menu using the control buttons. Look for the Communication Settings or USB Connection Mode option. Ensure it is set to “PC” or “MTP/Device.”
Step 2: Establish the Connection
Turn off the camera, connect the Micro-USB cable to the camera and the computer, and then turn the camera back on. The computer should detect the camera as a storage device.
Step 3: Transfer Photos
Open File Explorer (Windows) or Finder (Mac) to locate the camera’s storage. Navigate to the DCIM folder, select your photos, and copy them to your desired location on the computer.
For added convenience, you can also use Canon’s EOS Utility software, which simplifies this process by automating photo transfers and offering additional features like file sorting.
Frequently Asked Questions
Why won’t my Canon camera connect to my computer?
There could be several reasons why your Canon camera isn’t connecting to your computer. Ensure you’re using the correct USB cable and that both devices are turned on. Check your computer’s device manager for any error messages or missing drivers. If you’re using Wi-Fi, verify that both devices are connected to the same network and that Wi-Fi transfer is enabled on your camera.
Can I Transfer RAW Files?
Yes, you can transfer RAW files just like JPEGs. However, viewing or editing RAW files requires compatible software such as Adobe Lightroom, Photoshop, or Canon’s Digital Photo Professional (DPP), which is available for free on Canon’s website.
Can I Transfer Photos Without Canon EOS Utility?
Yes, transferring photos manually through File Explorer (Windows) or Finder (Mac) is a simple and effective method if you don’t want to use additional software.
Conclusion
Uploading photos from your Canon camera to your computer via USB is an easy and reliable way to preserve your images. Whether you’re using a Canon 1200D or a newer model, following these steps ensures a smooth transfer.
For advanced functionality, Canon’s EOS Utility offers convenience and added features, but manual transfers work just as well. With your photos safely stored on your computer, you’re ready to organize, edit, or share them with ease.


