Canon Rebel T7 Display Not Working: Troubleshooting Guide
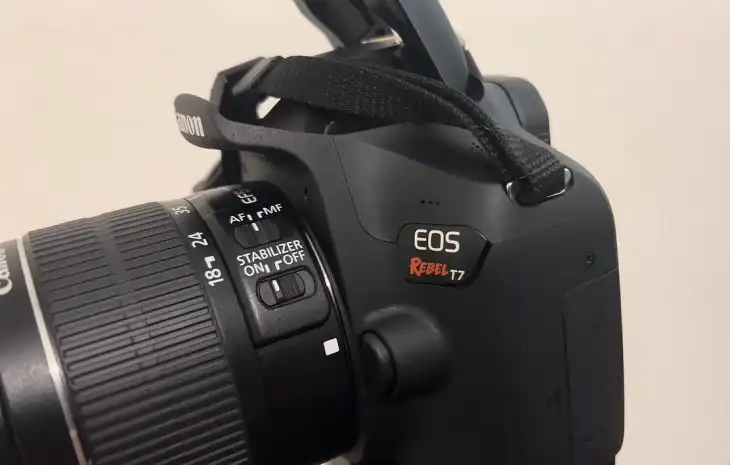
The Canon Rebel T7 is a popular entry-level DSLR camera, but some users have encountered frustrating display issues that can hinder its functionality. If you’re experiencing problems with your Rebel T7’s LCD screen, you’re not alone.
One of the most frequently reported problems is a black screen when an SD card is inserted, even though the camera can still take photos.
In some cases, the display works normally without an SD card but goes blank as soon as one is inserted. Other users have noticed the screen briefly displaying information when changing modes before going black again.
These issues can be caused by various factors, including SD card compatibility, a stuck shutter button, motherboard problems, or loose internal connections.
While some display problems can be resolved through simple troubleshooting steps, others may require professional repair.
By understanding the potential causes and solutions, you’ll be better equipped to diagnose and address display issues with your Canon Rebel T7, ensuring you can continue capturing high-quality images with confidence.
Common Canon Rebel T7 Display Issues
When it comes to Canon Rebel T7 display problems, several patterns have emerged from user reports. Understanding these common issues can help you identify and troubleshoot problems with your own camera.
1. Black Screen When SD Card Inserted
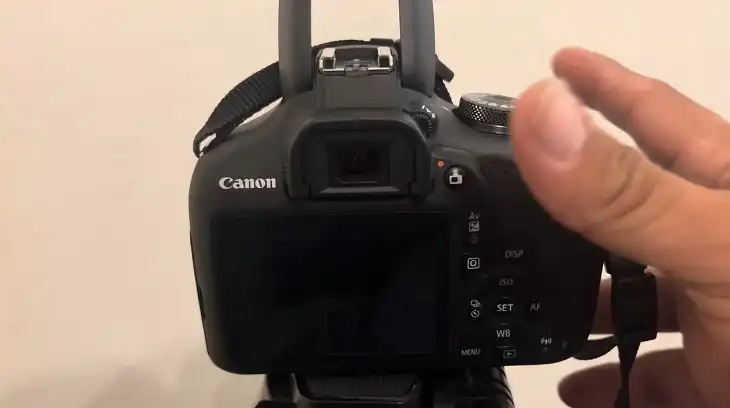
Many users have reported that their Rebel T7’s LCD screen goes completely black when an SD card is inserted into the camera. This can be particularly frustrating, as it prevents you from accessing the menu system or reviewing your photos on the camera itself.
2. Display Working Without SD Card, But Not With Card
In some cases, users have found that the LCD screen functions normally when no SD card is present in the camera. However, as soon as a card is inserted, the display goes blank. This suggests that the issue may be related to how the camera interacts with the memory card.
3. Brief Display When Changing Modes Before Going Black
Another reported issue involves the LCD screen briefly displaying information when changing camera modes, only to go black again moments later. This intermittent functionality can make it difficult to adjust settings or use the camera’s live view feature.
Canon Rebel T7 Display Not Working: Potential Causes
Several factors could be contributing to your Canon Rebel T7’s display issues. By understanding these potential causes, you can better target your troubleshooting efforts.
1. SD Card Compatibility Issues
In some cases, the problem may be related to the specific SD card you’re using. Not all memory cards are created equal, and some may not be fully compatible with your camera.
2. Stuck Shutter Button
A stuck or partially depressed shutter button can cause the camera to behave erratically, including issues with the LCD display. This is because the camera may think it’s constantly in the process of taking a photo.
3. Motherboard Problems
More serious issues could be related to the camera’s motherboard. If there’s a problem with the internal circuitry, it may affect how the camera communicates with the LCD screen.
4. Loose Internal Connections
Sometimes, the issue could be as simple as a loose connection between the LCD screen and the camera’s main board. This can happen due to impact or general wear and tear over time.
Canon Rebel T7 Display Not Working: Troubleshooting Steps
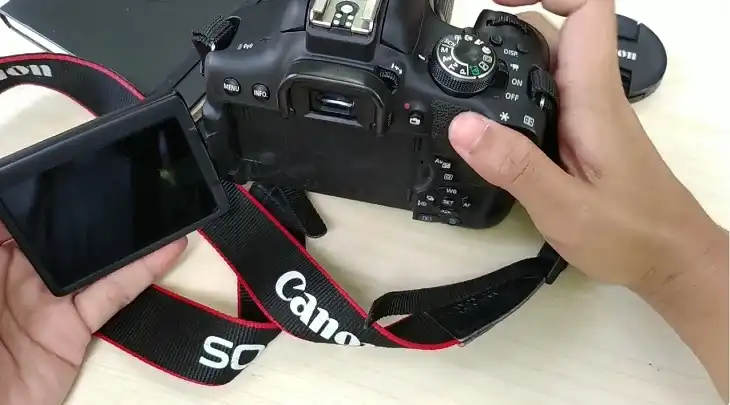
Before seeking professional help, there are several troubleshooting steps you can try to resolve your Canon Rebel T7 display issues.
1. Try Multiple SD Cards
Since some display problems seem to be related to SD card usage, try using different memory cards in your camera. Make sure to test with cards from reputable brands and with appropriate speed ratings for your camera.
2. Remove Battery And Reset
Sometimes, a simple reset can resolve electronic issues. Remove the battery from your camera for a few minutes, then reinsert it and power on the camera. This can help clear any temporary glitches in the system.
3. Check Shutter Button For Sticking
Gently press and release the shutter button several times to see if it feels sticky or doesn’t return to its original position properly. If it seems stuck, try tapping it firmly (but not too hard) to see if that unsticks it.
4. Adjust ISO And Exposure Settings
If you’re having trouble seeing anything on the LCD screen, try increasing the ISO and exposure settings. This can help brighten the image, especially in low-light conditions or when pointing at distant objects.
5. Test Focus On Distant Objects In Daylight
To rule out focus issues, try pointing your camera at a distant object in good lighting conditions. This can help you determine if the problem is with the display itself or with the camera’s ability to focus and capture images.
When to Seek Professional Help
While many display issues can be resolved through troubleshooting, some problems may require professional attention.
Persistent Issues After Troubleshooting
If you’ve tried all the suggested troubleshooting steps and your display issues persist, it may be time to consult a professional.
Suspected Hardware Failures
If you suspect that the problem is due to a hardware failure, such as a faulty motherboard or damaged LCD screen, it’s best to have the camera examined by a qualified technician.
Canon Repair Services
Canon offers repair services for their cameras. If your Rebel T7 is still under warranty, or if you’re comfortable paying for out-of-warranty repairs, contacting Canon directly may be your best option for resolving complex display issues.
Final Words
Display issues with the Canon Rebel T7 can be frustrating, but they don’t always mean the end of your camera’s life. By understanding common problems, potential causes, and troubleshooting steps, you can often resolve these issues on your own.
Remember to start with simple solutions like trying different SD cards or resetting the camera before moving on to more complex troubleshooting.
Pay attention to when and how the display problems occur, as this information can be valuable in diagnosing the issue.
If you’ve exhausted all troubleshooting options and are still experiencing display problems, don’t hesitate to seek professional help.
Whether through Canon’s official repair services or a trusted local camera technician, getting expert assistance can help ensure your Rebel T7 gets back to capturing great photos as soon as possible.
Frequently Asked Questions
1. Why is My Canon Camera Screen Black?
If your Canon camera screen appears black, it could be due to the screen brightness being set too low. Check the brightness settings and adjust them if necessary. Additionally, ensure the camera isn’t in power-saving mode or that the lens cap isn’t still on.
If the problem persists, it might be a more serious issue like a faulty LCD screen or a malfunctioning sensor, in which case professional servicing might be required.
2. How to Reset Your Canon EOS Rebel T7?
To reset your Canon EOS Rebel T7, go to the third wrench menu (which is the right-most of the wrench menus), scroll down to “Clear settings,” and select it. This will reset the camera’s settings to their factory defaults, which can help resolve any issues caused by incorrect settings.
3. How Do I Reboot My Canon?
To reboot your Canon camera, simply press the power switch to turn it off and then turn it back on again. This basic reboot can often resolve minor glitches or freezes in the camera’s operation.
4. How to Change Display on Canon Rebel T7?
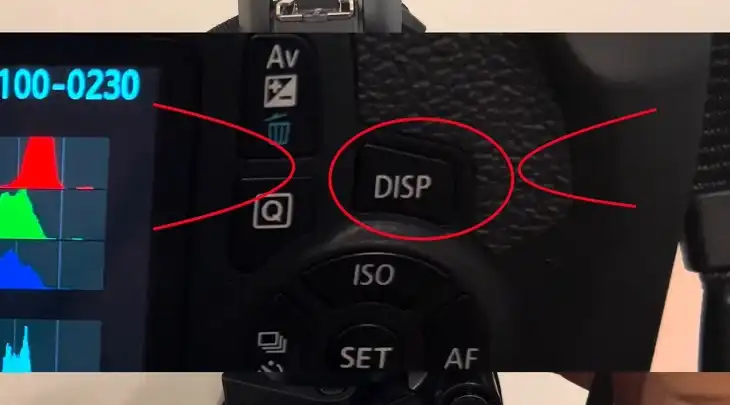
To change the display settings on your Canon Rebel T7, press the “DISP” button on the back of the camera. This button cycles through the different display modes, including information screens and live view. You can customize what information appears on the screen by adjusting the settings in the camera’s menu.
5. Does the Rebel T7 Have Live View?
Yes, the Canon Rebel T7 does have Live View. Live View allows you to see what the camera’s sensor is capturing in real-time on the LCD screen, which is useful for composing shots and focusing, especially in tricky lighting situations or when shooting at awkward angles.
You can activate Live View by pressing the dedicated Live View button on the back of the camera.


