Best Settings for Your Canon M50 Mark II
The Canon M50 Mark II is a versatile camera that can produce stunning results when set up correctly. Let’s dive deep into the best settings to help you get the most out of your gear.
1. Shooting Mode: Aperture Priority (Av)
Set your mode dial to Av. This mode gives you control over the aperture, which affects depth of field, while the camera automatically adjusts the shutter speed for proper exposure.
- For portraits: Use a wide aperture (low f-number like f/2.8) to blur the background.
- For landscapes: Use a narrow aperture (high f-number like f/11) to keep everything in focus.
2. ISO: Auto with Maximum 6400
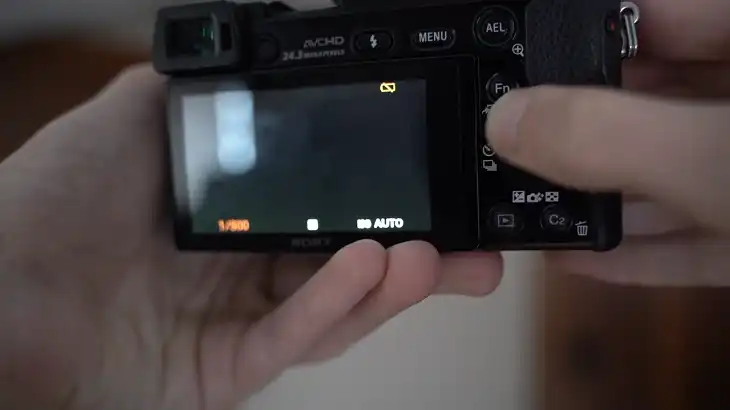
Navigate to your ISO settings and choose Auto. Then, set the maximum to 6400.
- This allows your camera to adjust sensitivity in varying light conditions.
- The 6400 limit helps prevent excessive noise in your images.
- In very low light, you might need to manually increase this, but be aware of increased graininess.
3. Autofocus Settings
The M50 Mark II has two excellent AF modes:
- Face + Tracking AF: Ideal for moving subjects, portraits, or when you want the camera to automatically find focus.
- Single-point AF: Best for still subjects or when you need precise control over the focus point.
To switch between these:
- Press the AF frame selector button (right side of the viewfinder).
- Use the main dial to choose your preferred mode.
4. Image Quality: RAW
Set your image quality to RAW for maximum flexibility in post-processing.
- Press the MENU button.
- Go to the first shooting tab (red camera icon).
- Select ‘Image quality’ and choose RAW.
Remember, RAW files are larger and require processing before sharing.
5. White Balance: Auto
Auto White Balance (AWB) works well in most situations.
- If colors look off, try a preset like Daylight, Cloudy, or Tungsten.
- For tricky lighting, use Custom White Balance:
- Photograph a white or grey card.
- Go to MENU > Shooting settings > Custom White Balance.
- Select the image of the card you just took.
6. Picture Style: Standard with Tweaks
Start with the Standard Picture Style, then make these adjustments:
- Press the Quick Control button.
- Navigate to Picture Style.
- Press INFO to enter detailed settings.
- Increase Contrast to +1.
- Boost Saturation to +1.
This gives your images a bit more punch straight out of the camera.
7. Metering: Evaluative
Evaluative metering is your best all-around choice.
- Press MENU.
- Go to the fourth shooting tab.
- Select ‘Metering mode’ and choose ‘Evaluative metering’.
For high-contrast scenes (like backlit subjects), switch to Spot metering.
8. Drive Mode: High-speed Continuous
For action and moving subjects:
- Press the left arrow button on the back of the camera.
- Select the High-speed continuous icon (looks like stacked rectangles).
This allows you to shoot at about 10 frames per second.
9. Video Settings
The M50 Mark II offers great video options:
- For a cinematic look:4K at 24fps
- Note: This crops the sensor, effectively zooming in your shot.
- For smooth motion: 1080p at 60fps
- Use this for action or if you plan to create slow-motion in editing.
To set video quality:
- Switch to video mode on the top dial.
- Press MENU.
- Go to the first shooting tab.
- Select ‘Movie rec. quality’ and choose your preferred setting.
10. Image Stabilization: On
Keep IS turned on for sharper handheld shots.
- Press MENU.
- Go to the fourth shooting tab.
- Select ‘IS settings’ and ensure it’s set to ‘Enable’.
Turn this off when using a tripod for the sharpest possible images.
These settings provide a solid foundation for most shooting scenarios. Remember, the best way to improve is to practice and experiment. Don’t be afraid to adjust these settings as you become more comfortable with your camera and develop your own style.
Happy shooting with your Canon M50 Mark II!