Best Settings for Your Nikon D3200 DSLR
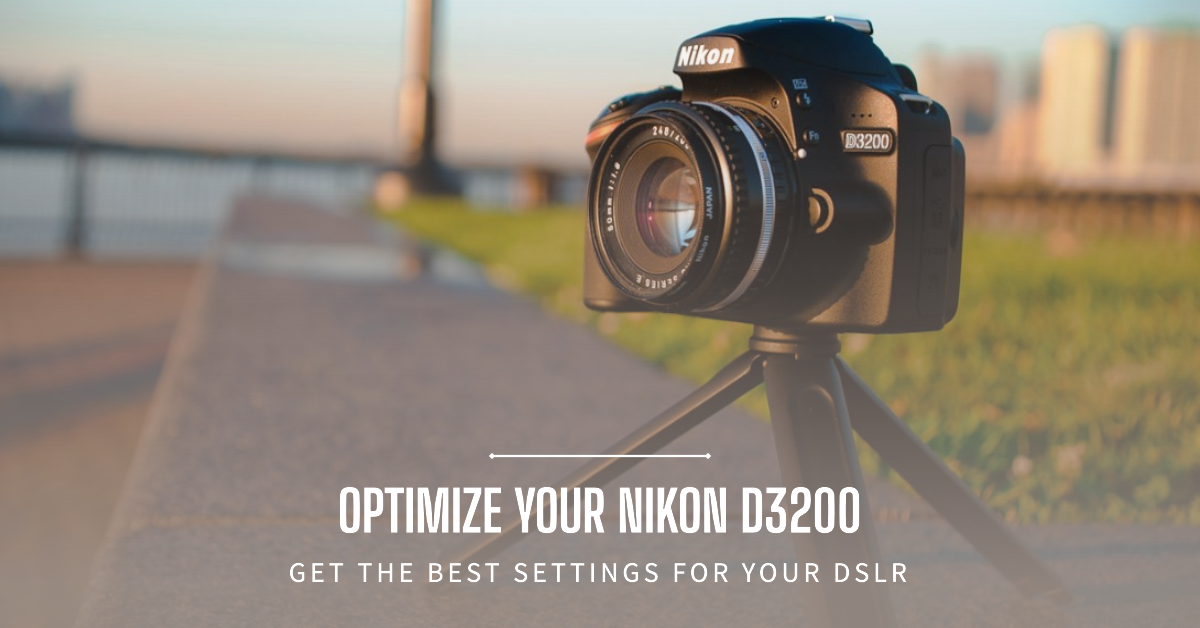
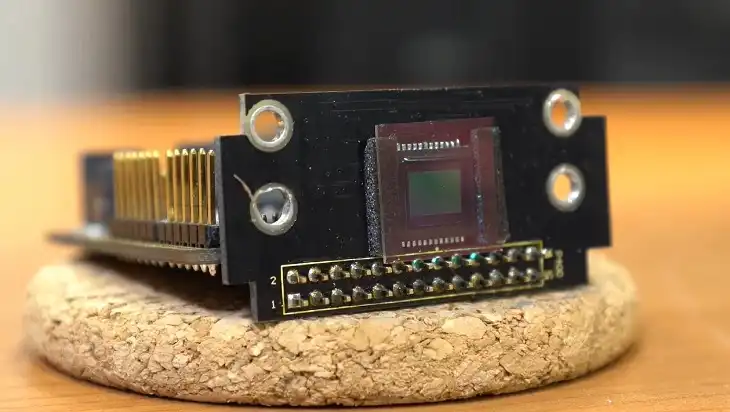
The Nikon D3200 is a popular entry-level DSLR, perfect for photographers who are just starting out but still want to experience the power of a DSLR camera. With its 24.2 MP DX-format CMOS sensor and EXPEED 3 image processor, it offers impressive image quality and performance. Additionally, the camera supports 1080p Full HD video recording, allowing users to capture high-quality videos with ease.
One of the main challenges for beginners is understanding the camera settings. Mastering these settings can dramatically improve the quality of your photos, and it allows you to take creative control of your photography. Whether you are shooting portraits, landscapes, or action shots, knowing how to optimize your settings can make a significant difference.
Basic Camera Setup
When you first turn on your Nikon D3200, you’ll be prompted to configure basic settings such as language, date, and time. These settings are fundamental for organizing your images correctly, as the camera will use this information to timestamp your photos and videos.
After setting the date and time, you’ll want to adjust your image quality and size. The D3200 allows you to shoot in JPEG, RAW, or a combination of both (JPEG+RAW). If you’re planning to edit your photos extensively, it’s recommended to shoot in RAW because it retains the most image data. However, if you want smaller file sizes and quicker processing, JPEG is a good option.
You can also set up your default folder structure for images. Nikon organizes photos into folders based on dates, but you can customize this if you prefer a different organization method.
Understanding the Camera Interface
The D3200 has a fairly intuitive layout, but understanding the purpose of each button and dial will help you operate it more efficiently. Here’s a quick breakdown:
- Mode Dial: This is where you select your shooting mode (Auto, Manual, Aperture Priority, etc.).
- Shutter Button: The button you press to capture your photo.
- Command Dial: Located on the top-right of the camera, this is used to adjust settings like shutter speed and aperture.
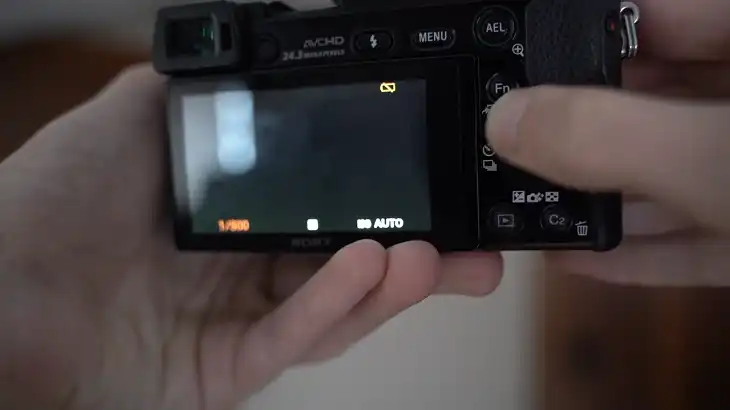
- LCD Display: The 3-inch screen is your interface for viewing photos, adjusting settings, and navigating the menu.
- Playback Button: Allows you to review your photos and videos.
- Info Button: Press this to view your current camera settings on the LCD screen.
You’ll also want to familiarize yourself with the autofocus and shutter modes, which are crucial for capturing sharp images in various scenarios.
Key Exposure Settings
Exposure Mode Dial (P, A, S, M)
The exposure mode dial on top of the Nikon D3200 allows you to choose between different shooting modes. Each mode gives you varying degrees of control over the camera’s settings:
- Automatic (P): This is ideal for beginners who want the camera to handle most of the settings. It automatically adjusts the aperture and shutter speed to provide a balanced exposure, but you can still make slight adjustments.
- Aperture Priority (A): In this mode, you control the aperture while the camera adjusts the shutter speed to match the lighting conditions. A wider aperture (lower f-number) allows more light in, resulting in a blurry background, which is great for portraits. A smaller aperture (higher f-number) is better for landscapes, where you want everything in focus.
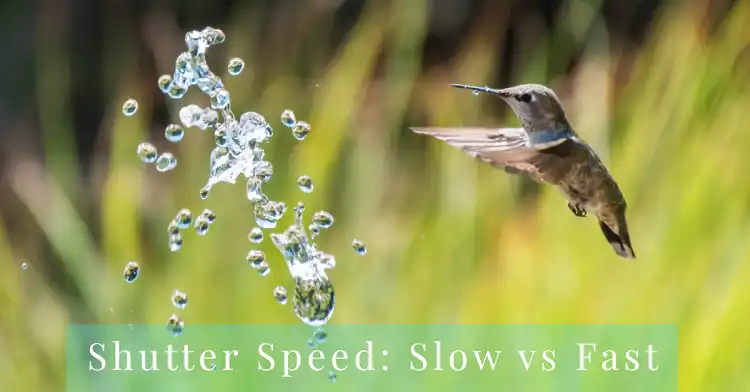
- Shutter Priority (S): You control the shutter speed, which is useful for capturing fast-moving subjects or creating motion blur. A fast shutter speed (e.g., 1/1000 sec) freezes motion, while a slower speed (e.g., 1/30 sec) can be used for creative effects like light trails.
- Manual (M): This mode gives you complete control over both the aperture and shutter speed, making it perfect for advanced users who want to fine-tune every aspect of their shot.
Metering Modes
Metering is how your camera evaluates the light in a scene to determine the correct exposure. The Nikon D3200 offers three metering modes:
- Spot Metering: This mode measures a small area of the frame, typically where your focus point is. It’s useful for backlit subjects or high-contrast scenes where you want to expose for a specific area.
- Center-Weighted Average: This mode emphasizes the center of the frame while still considering the surrounding area. It’s particularly helpful for portraits, where the subject is usually centered.
- Matrix Metering: This is the default mode and works well for most general shooting situations. It evaluates the entire scene to produce a balanced exposure.
White Balance
White balance adjusts the color temperature of your image based on the lighting conditions. The D3200 offers several presets:
- Auto: The camera automatically adjusts the color balance based on the scene.
- Preset Options (Cloudy, Sunny, Incandescent, etc.): Use these presets to match your lighting conditions.
- Custom White Balance: For precise control, you can create a custom white balance by photographing a neutral gray card in your current lighting situation.
- Kelvin (K): This allows you to manually set the color temperature. Lower Kelvin temperatures (3000K) make the image cooler (bluer), while higher temperatures (7000K) make it warmer (yellower).
ISO Settings
ISO controls the camera’s sensitivity to light. A lower ISO (e.g., 100 or 200) is best for bright environments, while a higher ISO (e.g., 1600 or 3200) is necessary for low-light situations. However, increasing ISO can introduce noise (grain) into your photos.
You can set the ISO manually or use Auto ISO, which allows the camera to adjust the ISO automatically based on the lighting conditions. In Auto ISO, you can set a maximum sensitivity, such as ISO 1600, to prevent too much noise from creeping into your images.
Focus and Drive Modes
Focus Modes
The Nikon D3200 offers several autofocus (AF) modes:
- AF-S (Single-servo): This is great for stationary subjects. The camera locks focus when you half-press the shutter button.
- AF-C (Continuous-servo): Ideal for moving subjects. The camera continuously adjusts focus as the subject moves.
- AF-A (Auto): The camera chooses between AF-S and AF-C depending on whether your subject is stationary or moving.
For manual control, you can switch to Manual Focus (MF). This is useful in situations with tricky lighting or when autofocus struggles to lock onto the subject.
The camera also allows you to choose your AF area mode:
- Single-point AF: You manually select one focus point.
- Dynamic AF: The camera uses surrounding points to assist if the subject moves.
- Auto Area AF: The camera automatically selects the focus points based on the scene.
Drive Modes
The drive mode determines how the camera behaves when you press the shutter button:
- Single Shot: The camera takes one photo per press, ideal for stationary subjects.
- Continuous Shooting: The camera takes multiple photos in quick succession, which is great for action and sports photography.
- Self-Timer: This mode is perfect for group shots or situations where you need to minimize camera shake.
Creative Shooting Settings
Picture Control
The D3200 offers different Picture Control modes, which adjust the sharpness, contrast, and saturation of your images:
- Standard: Good for general photography.
- Vivid: Enhances contrast and saturation, ideal for landscapes.
- Neutral: Keeps colors and contrast as natural as possible.
- Monochrome: Shoots in black and white.
You can customize each mode to fine-tune your images according to your style.
Color Space
The D3200 supports two color spaces: sRGB and Adobe RGB. sRGB is the default and works well for most general photography. Adobe RGB has a wider color gamut, which is useful if you plan to do a lot of post-processing or printing.
Image Quality
Choosing between JPEG, RAW, or JPEG+RAW depends on your editing needs:
- JPEG: Compressed and ready for immediate use, but less flexible for editing.
- RAW: Contains all image data, giving you more flexibility in post-processing, but requires editing software.
- JPEG+RAW: Saves both formats, offering the best of both worlds.
Active D-Lighting
Active D-Lighting helps preserve details in both the highlights and shadows of high-contrast scenes. It’s particularly useful when shooting outdoors in harsh sunlight or in scenes with extreme contrast.
Noise Reduction
High ISO settings can introduce noise into your photos. The Nikon D3200 has a High ISO Noise Reduction feature, which applies smoothing to reduce noise. However, too much noise reduction can also soften your image, so it’s important to find a balance.
Advanced Shooting Techniques and Settings
Custom White Balance
For tricky lighting conditions, you can create and save Custom White Balance settings. This ensures accurate color reproduction in environments where the standard presets might fall short.
Exposure Compensation
Exposure compensation allows you to adjust the brightness of your image without changing the aperture or shutter speed. Use this feature in high-contrast lighting situations where the camera’s metering might not give you the desired exposure.
Bracketing
The D3200 offers Exposure Bracketing, which takes multiple shots at different exposures. This is perfect for HDR photography, where you combine multiple exposures to create a single image with a broader dynamic range.
Time-Lapse Photography
Although the D3200 doesn’t have a built-in intervalometer, you can achieve time-lapse photography using an external intervalometer. Set your camera to Manual mode, and use a tripod to keep your camera steady.
Multiple Exposure Settings
The Multiple Exposure feature allows you to combine two or more images into a single frame. This can be used creatively for artistic effects.
Focus Lock and Back-Button Focusing
For subjects that aren’t centered, use focus lock to lock the focus on your subject, then recompose the shot. You can also enable back-button focusing, which separates focus control from the shutter button, giving you more control over focus.
Scene Modes and Special Effects
Scene Modes
The D3200 offers several Scene Modes designed for specific types of photography:
- Portrait: Enhances skin tones and softens the background.
- Landscape: Enhances details and saturation.
- Sports: Uses a fast shutter speed to freeze action.
- Macro: Optimized for close-up shots.
Special Effects
You can also apply special effects directly within the camera, such as:
- Selective Color: Isolates a single color and turns the rest of the image black and white.
- Silhouette: Creates striking silhouette images by underexposing the subject.
- High Key: Produces bright, ethereal images by overexposing the subject.
Recommended Settings for Specific Scenarios
Portrait Photography
For portraits, use a wide aperture (f/1.8 to f/2.8) to create a beautifully blurred background. Set your focus mode to AF-S and use Single-point AF to ensure the subject’s eyes are sharp.
Landscape Photography
For landscapes, use a narrow aperture (f/8 to f/16) to ensure everything from the foreground to the background is sharp. Set your ISO to 100 or 200 for the best image quality.
Sports and Action Photography
For fast-moving subjects, use a fast shutter speed (1/1000 sec or faster) and set your focus mode to AF-C. Use Continuous Shooting to capture multiple frames of the action.
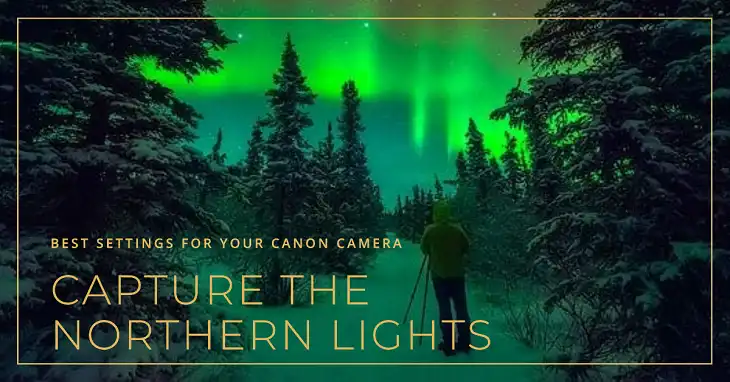
Low Light and Night Photography
In low light, increase your ISO to 1600 or higher, but be mindful of noise. Use a tripod for long exposures and set your camera to Manual mode with a slow shutter speed to capture stunning night shots.
Video Recording Settings
Basic Video Settings
The Nikon D3200 allows you to shoot in 1080p Full HD at 24, 25, or 30 frames per second (fps). For smooth motion, stick to 30 fps, but for a more cinematic look, 24 fps is recommended.
Autofocus and Manual Focus Options
The D3200 offers continuous autofocus during video recording, but it can be a bit noisy and slow. For smoother focus transitions, consider using manual focus.
Microphone Settings
The built-in microphone is adequate for basic use, but for better audio quality, consider using an external microphone like the Nikon ME-1.
Recommended Accessories
Lenses
For portraits, the Nikon 50mm f/1.8G is a fantastic choice. For landscapes, consider the Nikon 18-140mm f/3.5-5.6G. If you’re into macro photography, the Nikon 40mm f/2.8G is a good starting point.
Tripods and Stabilizers
For long exposures or time-lapse photography, a sturdy tripod like the Manfrotto Compact Action is highly recommended.
Flash and Lighting Gear
An external flash, such as the Nikon SB-700, provides much better lighting control than the built-in flash, especially for indoor photography.
Memory Cards
For shooting in RAW or burst mode, use a Class 10 SD card with a write speed of at least 45 MB/s to ensure the camera can keep up with your shooting.
Wrapping Things Up
In this guide, we’ve covered the essential settings and configurations for the Nikon D3200. Remember that mastering your camera takes time and practice. Don’t be afraid to experiment with different settings and scenarios to find out what works best for you. The Nikon D3200 is a powerful tool, and with the right knowledge, you can create stunning images in any situation.
For further resources, you can always visit Nikon’s official support site, check out your camera’s manual, or join online photography communities where you can share tips and techniques with other Nikon users.
Happy shooting!