Best Settings to Capture Northern Lights with Your Canon Camera
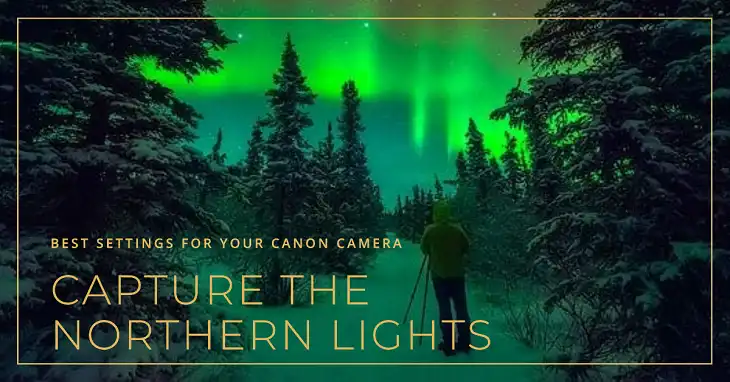
The Northern Lights, also known as the Aurora Borealis, are one of nature’s most spectacular displays. For photographers, capturing this ethereal phenomenon is both a challenge and a thrilling experience. If you’re a Canon camera user, you’re in luck – Canon’s advanced low-light capabilities make it an excellent choice for photographing the Aurora. This comprehensive guide will walk you through the best settings and techniques to capture breathtaking Northern Lights images with your Canon camera.
When and Where to Shoot Northern Lights
The best time to view the Northern Lights is typically from September to April, with peak visibility often occurring around the equinoxes in March and September. The lights are visible in a region known as the “auroral zone,” which typically lies between 60 and 75 degrees north latitude. Popular viewing locations include:
- Iceland
- Norway (particularly Tromsø)
- Finland
- Sweden
- Alaska
- Northern Canada
For the best chances of seeing the Aurora, you’ll want clear, dark skies away from light pollution. Websites like Aurora Alert and apps like My Aurora Forecast can help predict Aurora activity based on solar wind data.
Essential Equipment
Camera Bodies
For optimal results, a full-frame Canon camera is ideal due to its superior low-light performance. Some excellent options include:
- Canon EOS R5
- Canon EOS R6
- Canon EOS 5D Mark IV
If you’re on a budget, APS-C models like the Canon EOS 90D or EOS M6 Mark II can still produce great results, though you may need to push the ISO higher.
Lenses
A wide-angle lens is crucial for capturing the expansive nature of the Aurora. Look for lenses in the 10-24mm range. Some top choices include:
- Canon RF 15-35mm f/2.8L IS USM (for full-frame mirrorless)
- Canon EF 16-35mm f/2.8L III USM (for full-frame DSLR)
- Canon EF-S 10-18mm f/4.5-5.6 IS STM (for APS-C DSLR)
Aim for a lens with a wide maximum aperture (f/2.8 or wider) to allow in as much light as possible.
Additional Gear
- A sturdy tripod is non-negotiable for long exposures.
- Remote shutter release or intervalometer to minimize camera shake.
- Extra batteries (cold temperatures drain batteries faster).
- Large capacity memory cards (shoot in RAW for best quality).
Camera Settings for Northern Lights Photography
General Setup
- Set your camera to shoot in RAW format for maximum post-processing flexibility.
- Disable image stabilization (on both camera and lens if applicable).
- Enable long exposure noise reduction if your camera has this feature.
- Set white balance to Auto or Tungsten (around 3500K) as a starting point.
Aperture
Start with the widest aperture your lens allows (ideally f/2.8 or wider). This lets in the most light, which is crucial for capturing the often faint Aurora.
Shutter Speed
Begin with a shutter speed of 15 seconds. Adjust based on the Aurora’s activity:
- For slow-moving Auroras: Try 20-30 seconds
- For fast-moving Auroras: Reduce to 5-10 seconds to avoid blurring
Remember the “500 rule” to avoid star trails: divide 500 by your lens focal length to get the maximum exposure time for sharp stars. For example, with a 16mm lens, your maximum shutter speed would be about 31 seconds (500 ÷ 16 = 31.25).
ISO
Start at ISO 1600 and adjust as needed. Canon’s modern cameras perform well at high ISOs, so don’t be afraid to push to 3200 or even 6400 if necessary. Balance ISO with shutter speed and aperture to achieve the right exposure.
Focus
Manual focus is essential. Use your camera’s live view feature, zoom in on a bright star, and adjust focus until the star is a sharp point of light. If your Canon model has focus peaking, use this feature for even more precise focusing.
Composition Tips
While technical settings are important, composition can make or break your Northern Lights photos. Consider these tips:
- Include interesting foreground elements like trees, mountains, or reflective water bodies to add depth to your image.
- Use the rule of thirds to place the horizon line and main aurora features.
- Look for leading lines (like a road or shoreline) to draw the viewer’s eye into the scene.
- If possible, include a human element to provide scale and interest.
Advanced Techniques for Northern Light Photography
Exposure Bracketing
Use your Canon’s exposure bracketing feature to take multiple shots at different exposures. This can help you capture both the bright Aurora and darker foreground elements, which you can blend in post-processing.
Time-lapse Sequences
Many Canon models have built-in intervalometers. Use this feature to capture a series of images over time, which you can later compile into a stunning time-lapse video of the Aurora’s movement.
Key Takeaways
- Use a wide-angle lens with a large aperture (f/2.8 or wider).
- Start with ISO 1600, aperture wide open, and a 15-second exposure.
- Adjust settings based on Aurora activity and brightness.
- Focus manually on a bright star using live view.
- Include interesting foreground elements in your composition.
- Shoot in RAW and refine your images in post-processing.